Home Library
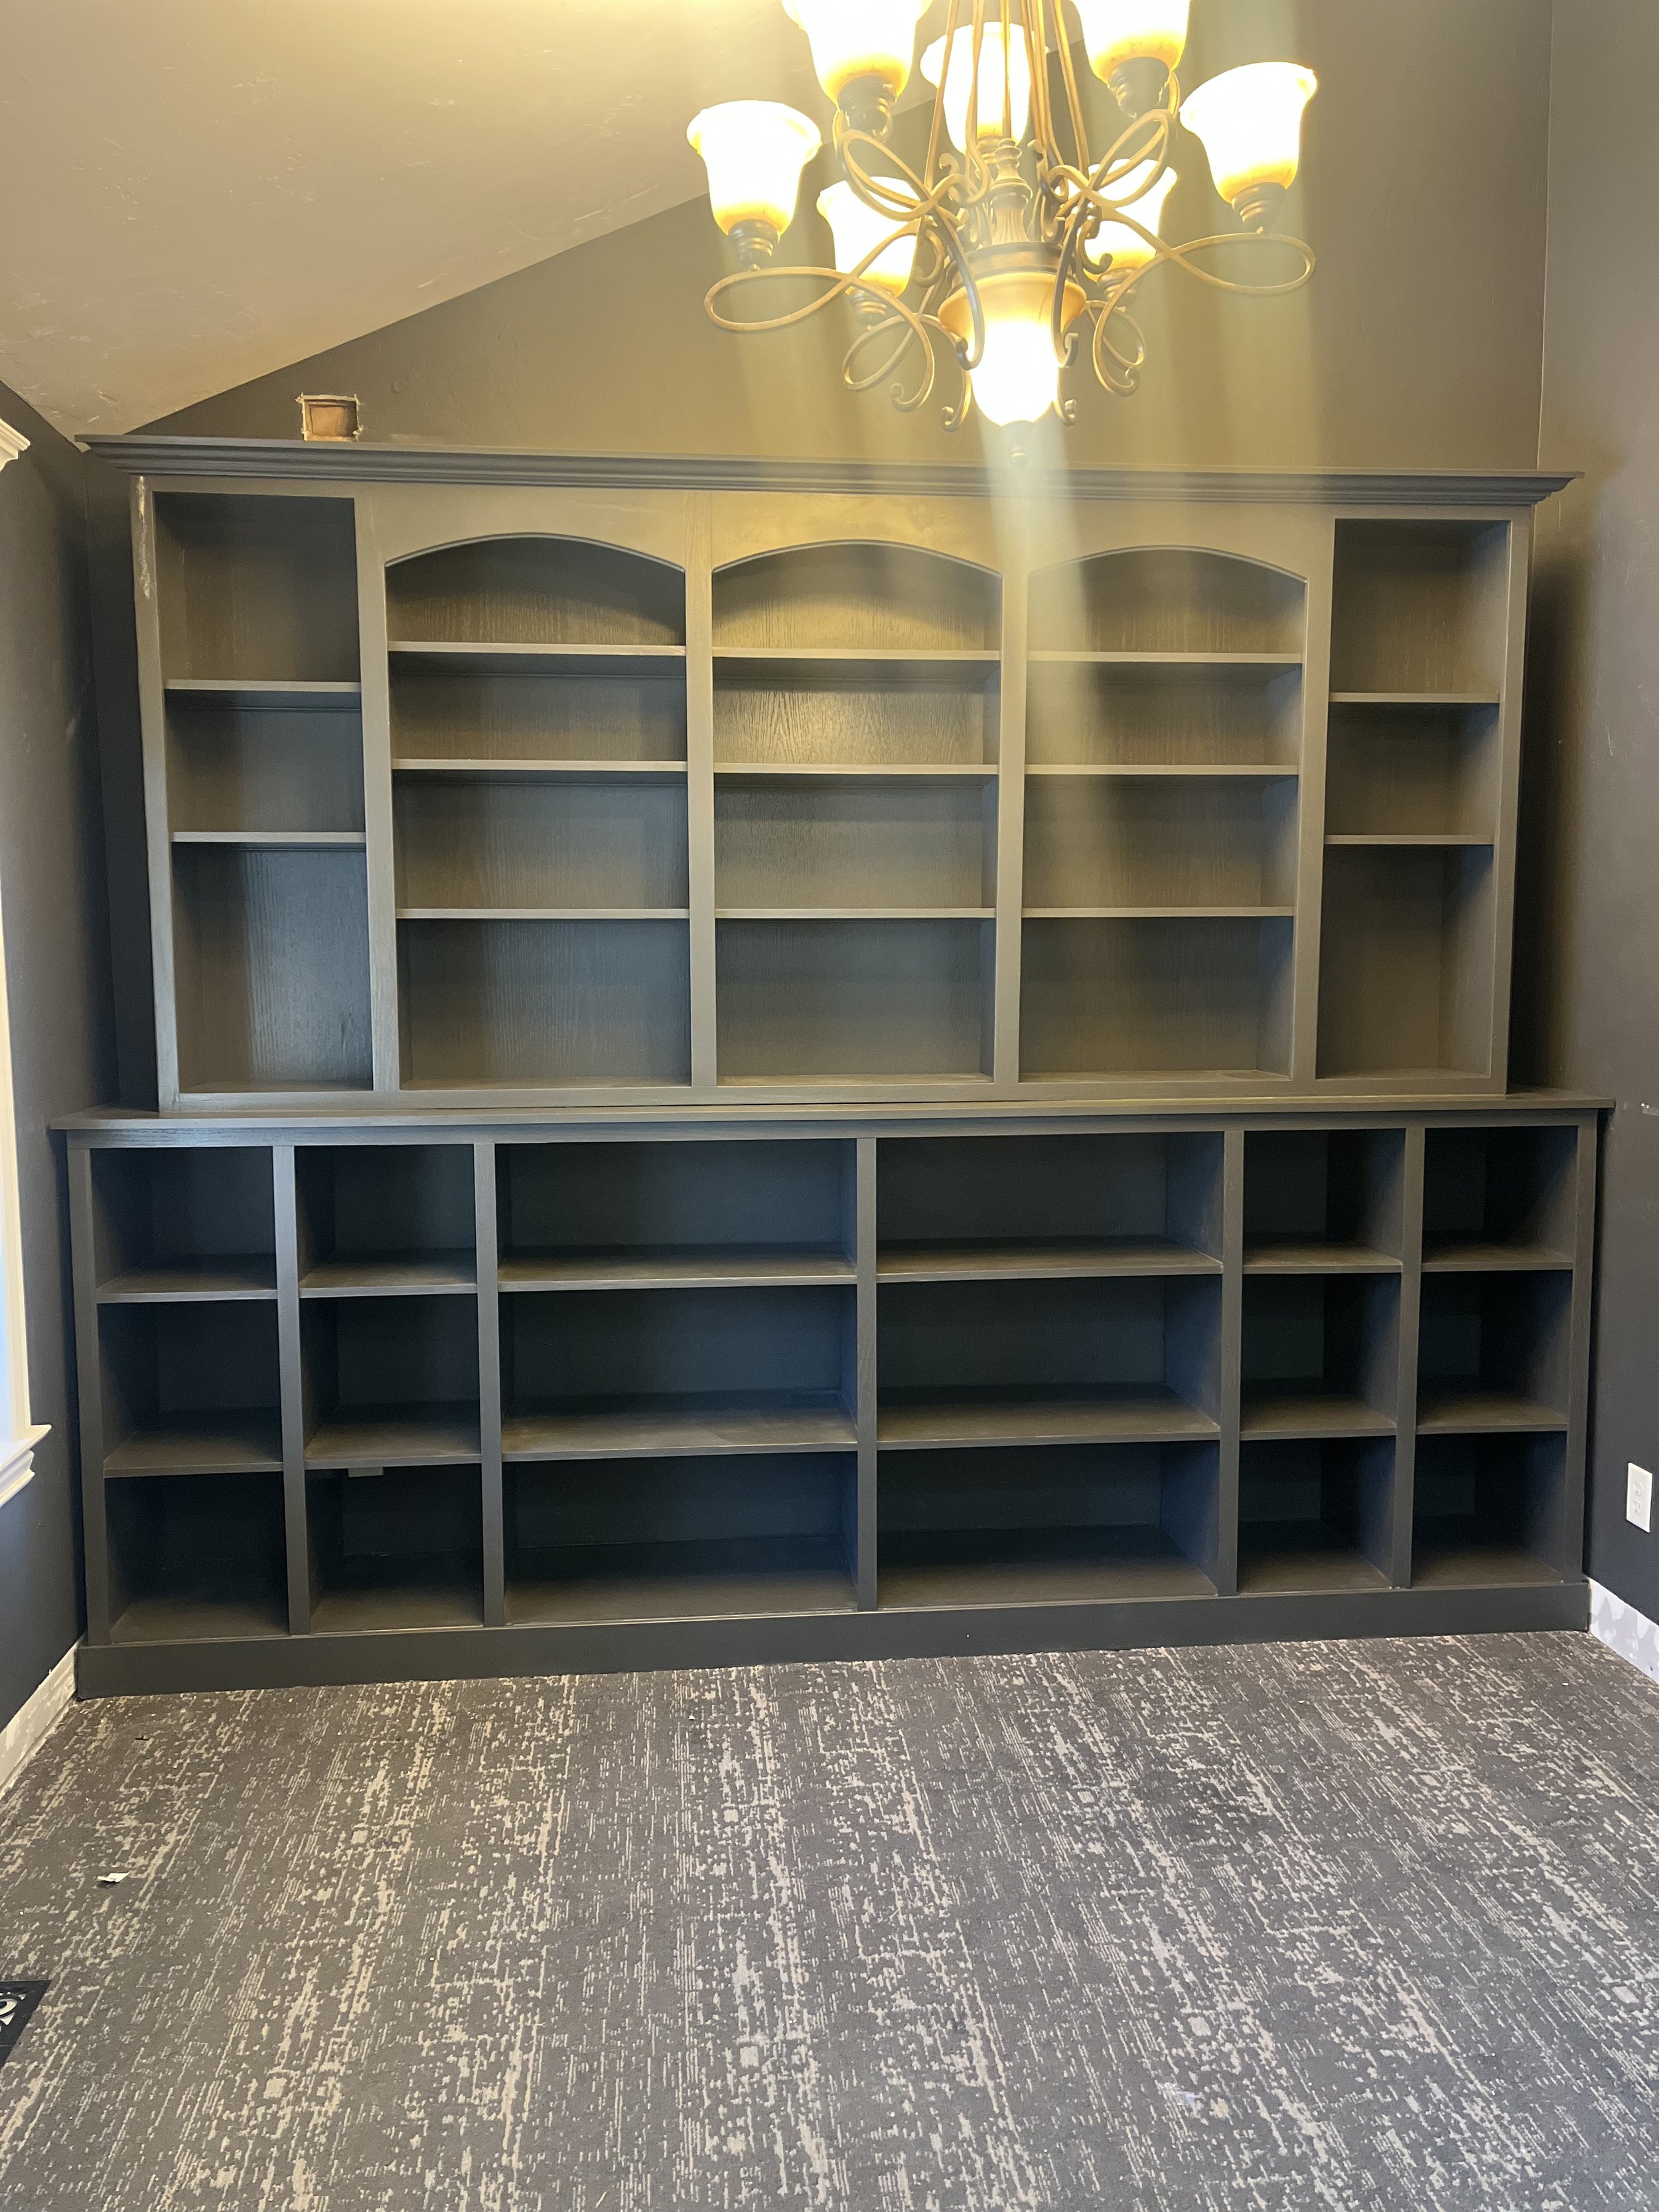
I found this gorgeous half bookshelf on Facebook Marketplace for free! Ok, maybe not gorgeous yet, but I knew with a little love and a friend on the bottom- it would be. I knew it had to come home with us. SO my husband and teenage son went and picked it up for me- so kind! I mean that, it was SO heavy, and kind of far away, but it was worth it. I spent about $600 on supplies to build the base, paint, trim, screws etc., and I sold it for $1,500. It took less than two weeks to build and finish. I’ll tell you though… finishing is just as time consuming (probably more so) than building. I should have priced accordingly. It was still worth it, and I’m glad I did it, but I would have charged a bit more if I’d figured it in the finishing time (sanding, painting, filling holes, adding trim, installing).
Here is the process:
Step 1: Mathing: Decide how you want your shelves laid out, figure how big you want each cubby or space to be, and then double‑check measurements to make sure everything lines up evenly.
Step 2: I started by building a sturdy ladder base out of 2x4x10s. This base measured 120” x 16” x 3.5” and gave the bottom bookshelf a solid, reliable foundation. It also had to help bear the weight of the entire unit — no small task — since the finished piece ended up weighing several hundred pounds.
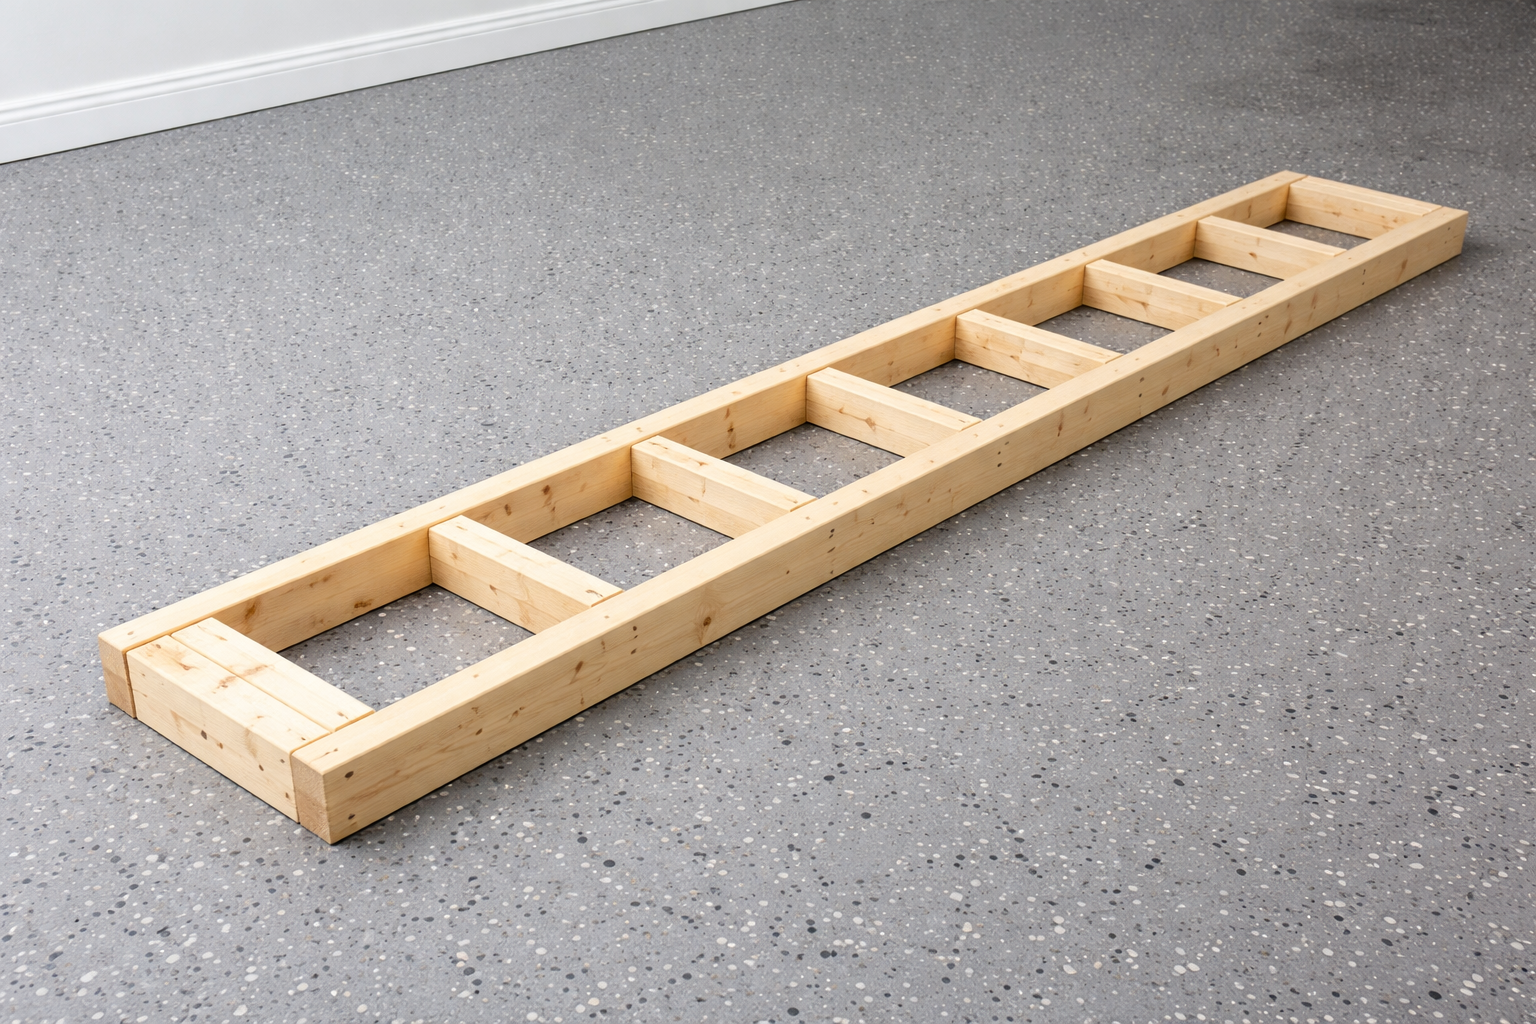
I forgot to take a picture, so I generated this image with ChatGPT to illustrate
Step 3: I used 2” brad nails (similar gun to the one I use- I like battery powered guns) to nail two 60”x16” sheets of plywood onto the top of the ladder. This is the bottom of the bookcase.
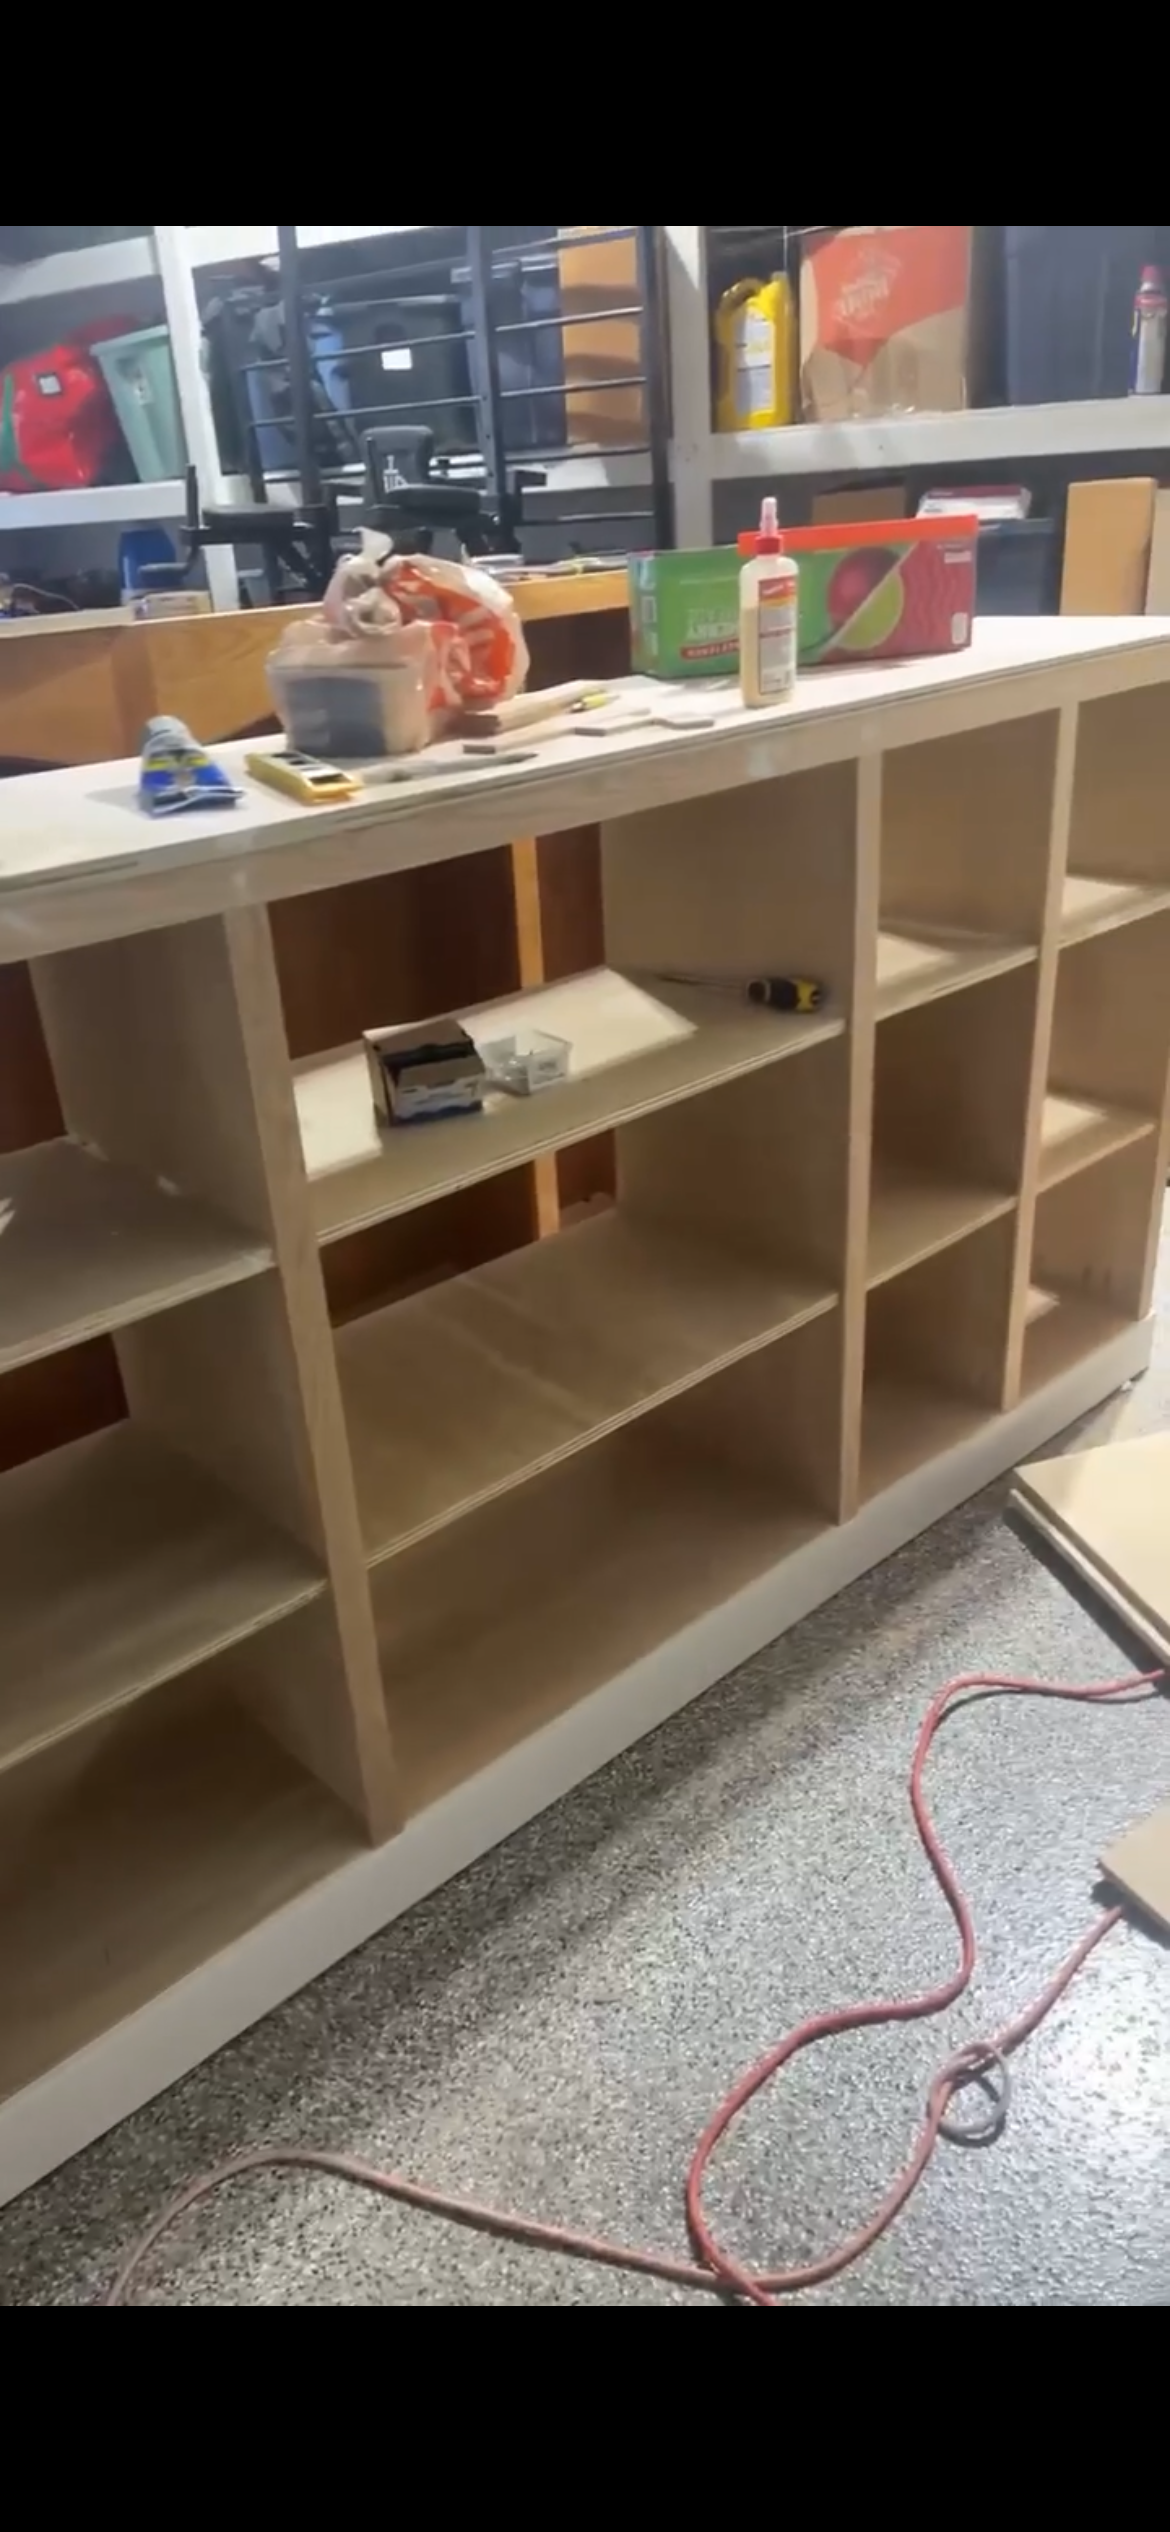
Step 4: Begin adding the vertical shelf sides using pocket holes. Pocket holes are a simple, reliable method to ensure the boards stay secure and aligned. They create a channel in the board that lets the screw bite in firmly, pulling two boards tightly together form a sturdy joint. I attached my horizontal shelves the same way: using pocket holes for a strong, consistent assembly. I use the Kreg Jig to form my pocket holes. It is very user friendly- just about anyone can do it! For a long time, I was scared of trying this method, but a few years ago I decided I need to figure it out. I had nothing to be afraid of- it is so simple! Here is a minute long YouTube video that explains how to set it up. Once it’s set up, simply drill into your wood with the bit provided, and you’ll have a hole. Insert a pocket hole screw into the hole (you’ll see a smaller hole within that big hole- insert the tip of the screw there). The screw length is based on your thickness of wood. Drill your screw into your adjoining piece of wood. You can use clamps like these or these to hold the wood in place while you screw. Optional, but helpful.
I cut two vertical spacers from 2x4s to hold the shelf at a consistent height. I set the new shelf on those spacers, checked it carefully with a level so it matched the adjacent shelf exactly. Each shelf spaced each shelf roughly 13 inches apart horizonally.
I added two horizontal 2x4 supports between the vertical supports where the gaps were larger than 16 inches (you can catch a glimpse of this a couple of pictures down). That extra bracing helped make sure those supports sat snug and secure.

This post may contain affiliate links that give me a commission when purchased through my link at no extra cost to you! This helps me support my family, and keeps this site up and running.
Step 5: I added a ladder support from 2x4x10 to hold the big top piece, but the 10' boards weren’t straight (I even returned and bought new ones, and they looked straight in the store, but were not). I switched to 8' boards and shorter pieces, joining them with pocket holes. I also put pocket holes at the tops of the vertical shelves to secure the top ladder support. That prevented the unit from separating when I moved it—where I skipped that, the top pulled apart later.
See the spacer hanging out in the middle?
Step 6: I nailed another set of 3/4" plywood boards to the top. I also added some screws (drilled in flush) where I knew it would be covered by the top)- just to make it a little more secure. If you’re not added a top unit- you can skip this step. I made these top pieces about an inch wider than the bookshelf bottom ( 17" instead of 16") so there would be a subtle overhang, which also helped disguise any boards that weren’t perfectly straight. You can add trim or banding — those pre-glued wood strips that finish off the raw edge of plywood — to this piece for a cleaner, more finished look (I went ahead and added trim).
Step 7: I added banding to the front of the horizontal shelves. I added trim over the 2x4’s ladders, and vertical shelves.
Pro tip for banding: Pick banding the thickness of your wood, number one. Two, set your iron to its hottest setting, and move your iron back and forth, and along the top and bottom edges. This will make sure the glue grabs/melts everywhere possible.
Step 8: I filled nail, and pocket screw holes (with plugs and wood glue) for what felt like years (but definitely days), and caulk (with a caulk gun like this) any gaps between shelves and other boards. I also filled any imperfections or nicks in the wood with plastic wood. I like plastic wood better than regular wood fill- the finish is smooth vs a bit gritty like regular wood fill. I used an orbital sander (similar to this one) with 220 grit sandpaper pads to even out the wood fill, and any rough spots.
Step 9: Prime and paint! Finally, right? Here are the supplies I used: A reusable respirator, 3 quarts of Shellac based primer (so I didn’t have to sand the top unit!), paint drop cloth, paint tent, paint gun (I love this thing), 220 grit sanding sponge (highly recommend a sponge for between coats- makes it so much easier), paint rollers for touch-ups (the touchup set from Home Depot $5ish), and the used the paint color Urban Bronze by Sherwin Williams. I used pre-sanded plywood, but it still needed a very light sanding between paint coats with the sanding sponge.
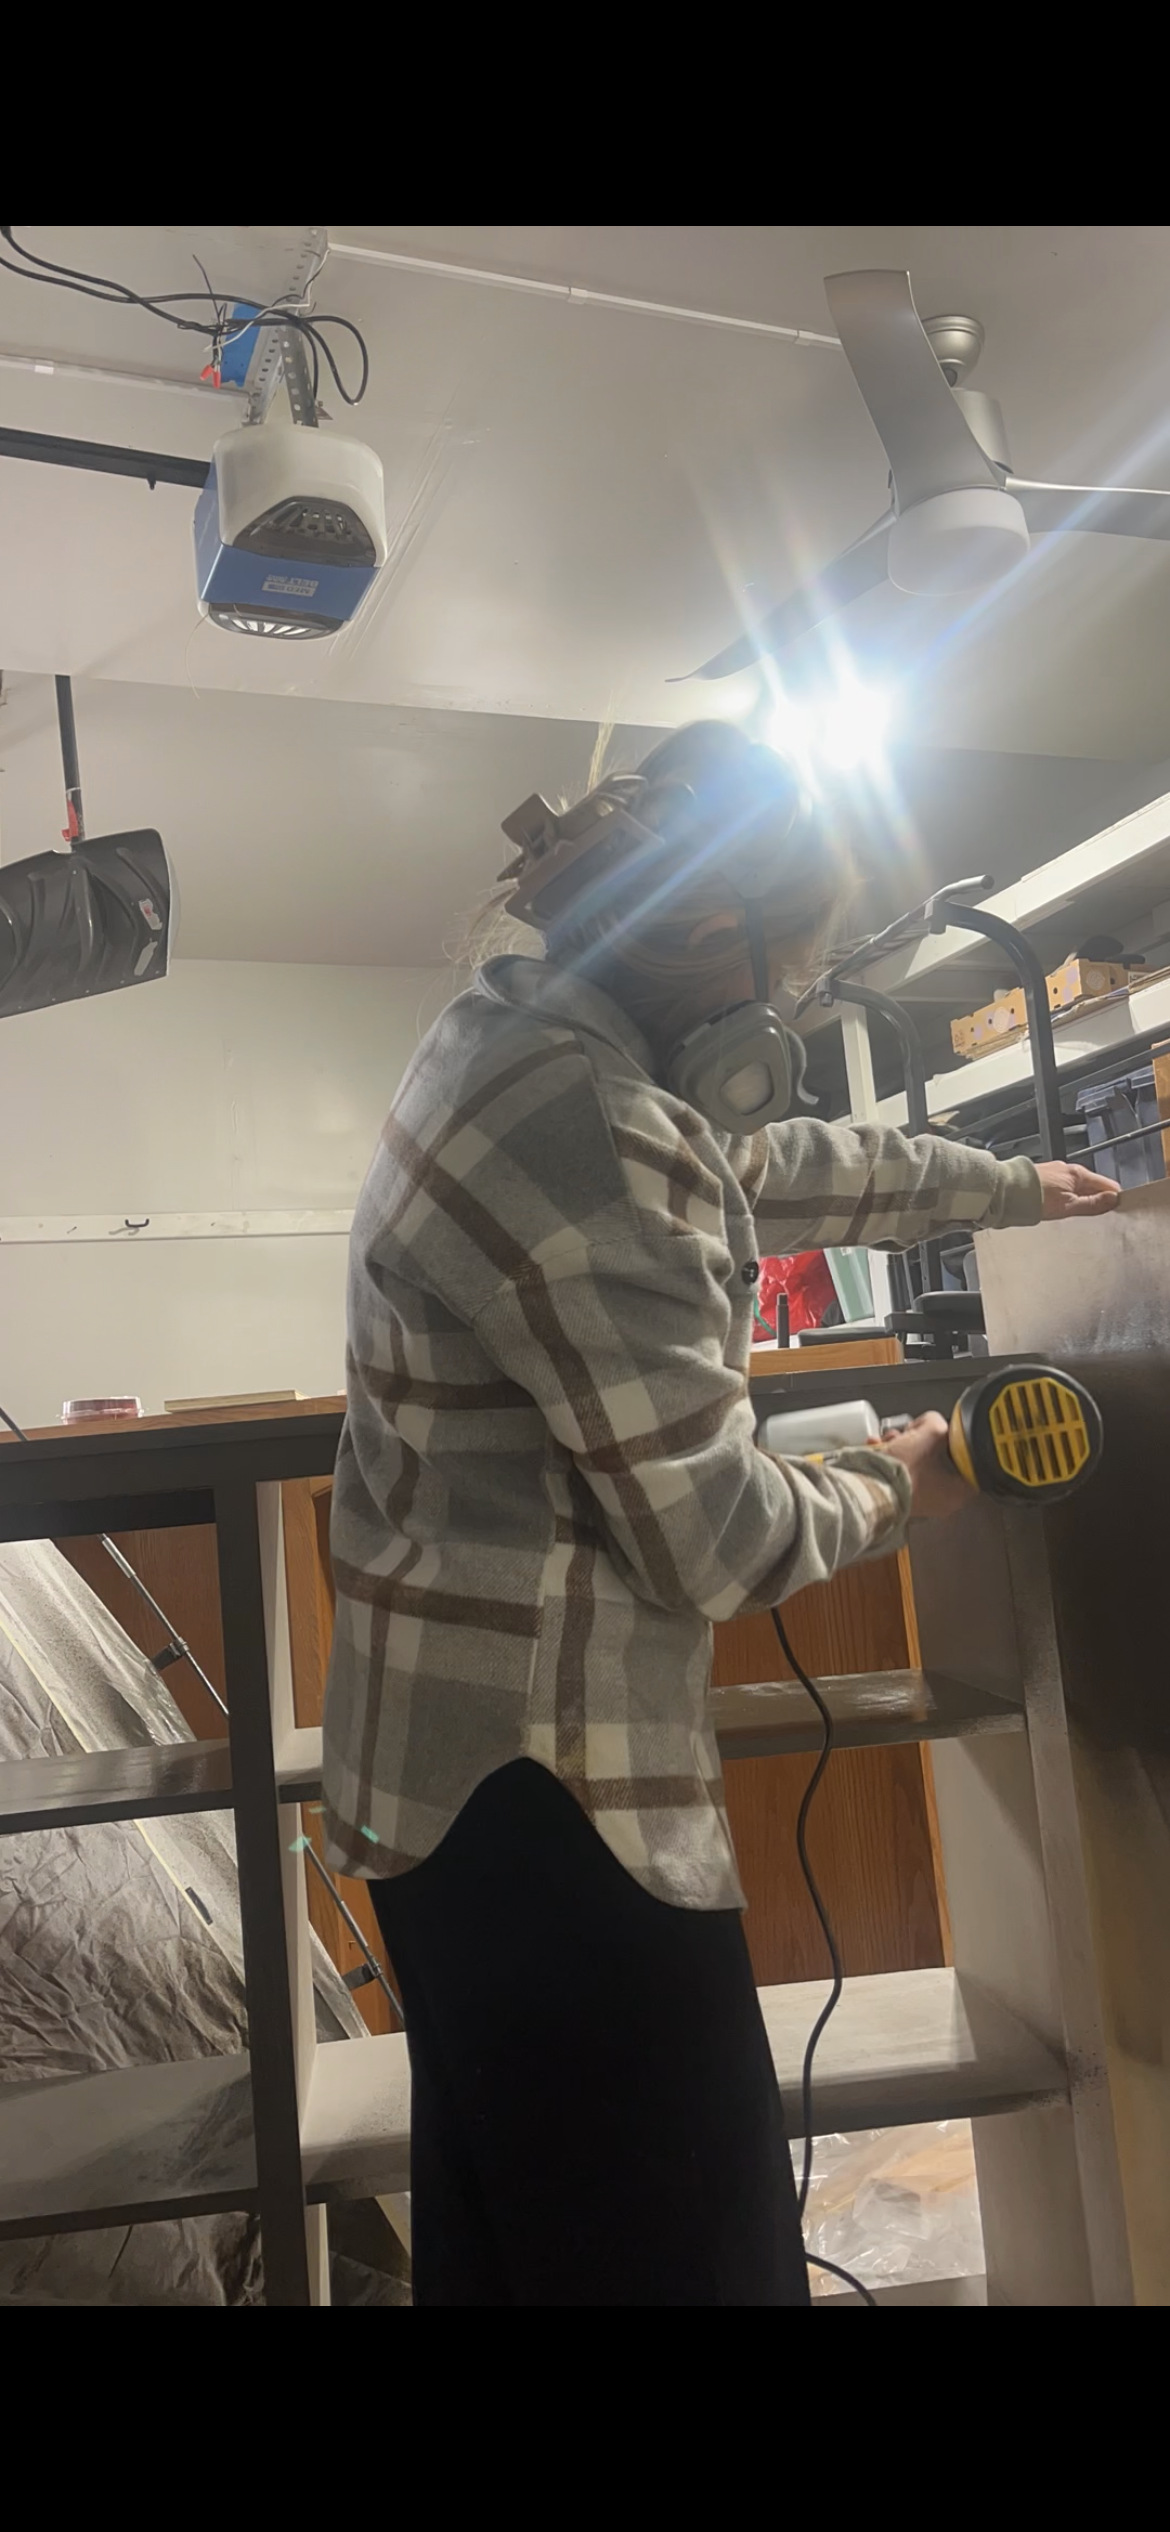
I used a large scrap of plywood behind the spots that didn’t fit in the tent to keep the paint from painting things I didn’t want to be painted.
Please don’t skip on the respirator! It’ll save your lungs and brain!
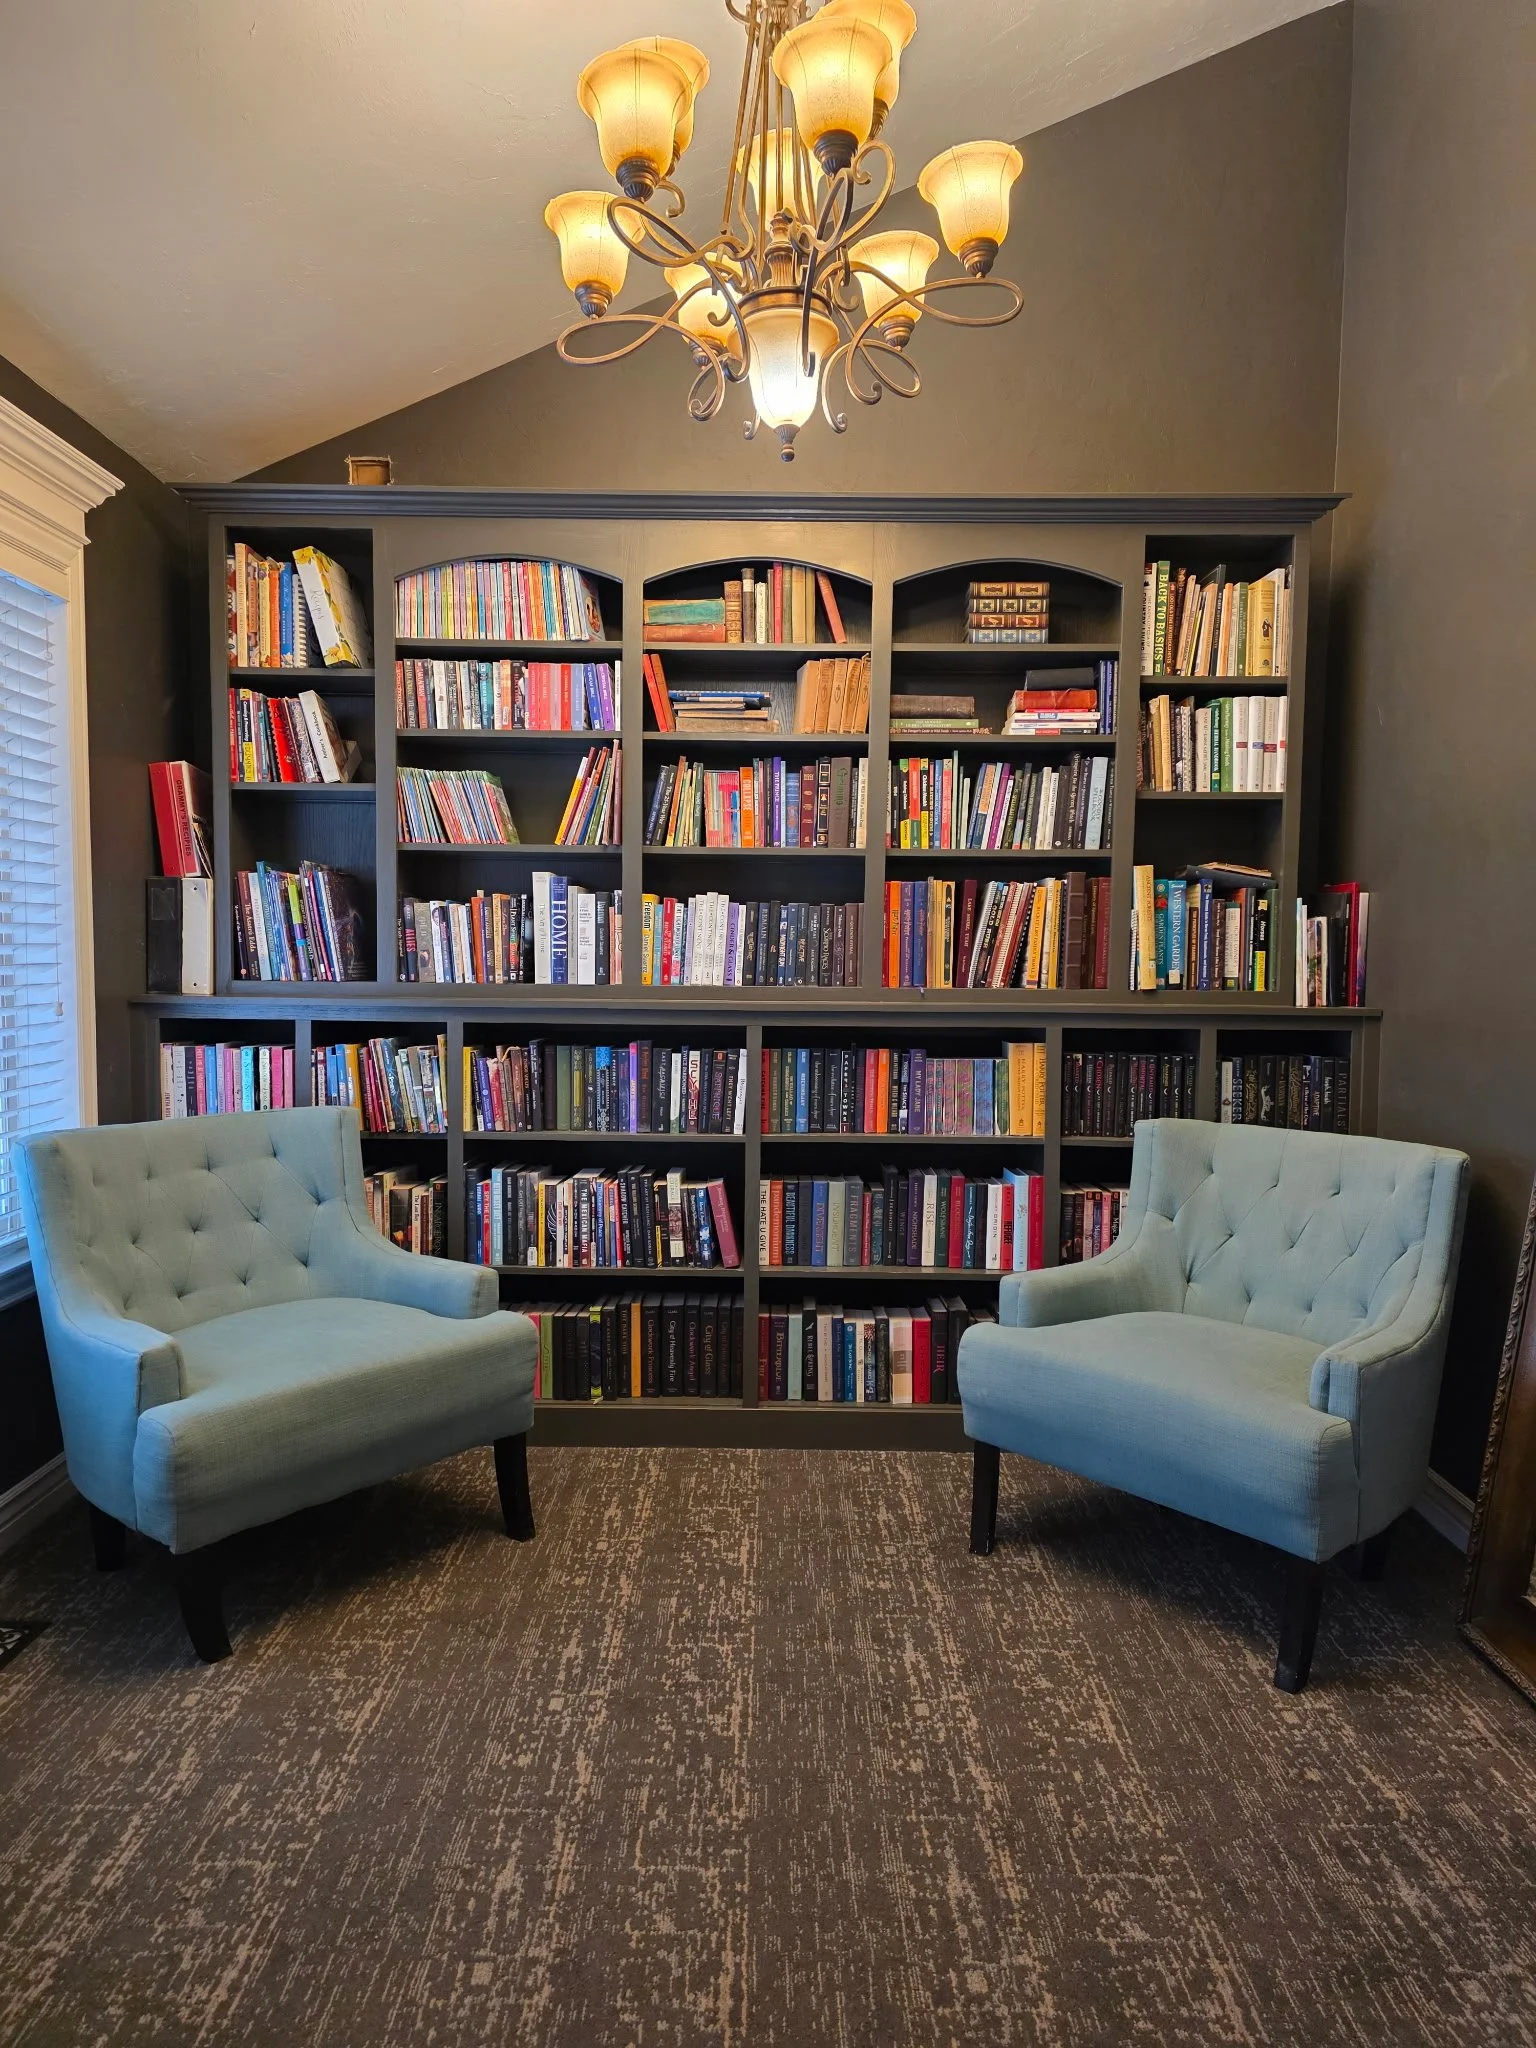
We delivered this gorgeous built-in to our delighted client to help bring her dream of a cozy home library to life. She absolutely loved it, and she can already picture many peaceful reading hours and joyful moments being spent in this lovely space.